
티스토리 뷰
지난 Part1에 이어 계속 진행합니다.
먼저 중지 했던 VM을 다시 켭니다.
Azure SA 업무환경 설정 2부 - 도구 설치 및 구성
<참고>
https://docs.microsoft.com/en-us/windows/wsl/install?AZ-MVP-5004005
https://learn.microsoft.com/ko-kr/cli/azure/install-azure-cli-windows?tabs=azure-cli?AZ-MVP-5004005
https://learn.microsoft.com/ko-kr/cli/azure/install-azure-cli-linux?pivots=apt?AZ-MVP-5004005
https://learn.microsoft.com/ko-kr/powershell/azure/install-azps-windows?view=azps-11.3.0&tabs=powershell&pivots=windows-psgallery?AZ-MVP-5004005
Docker Desktop for Windows 설치
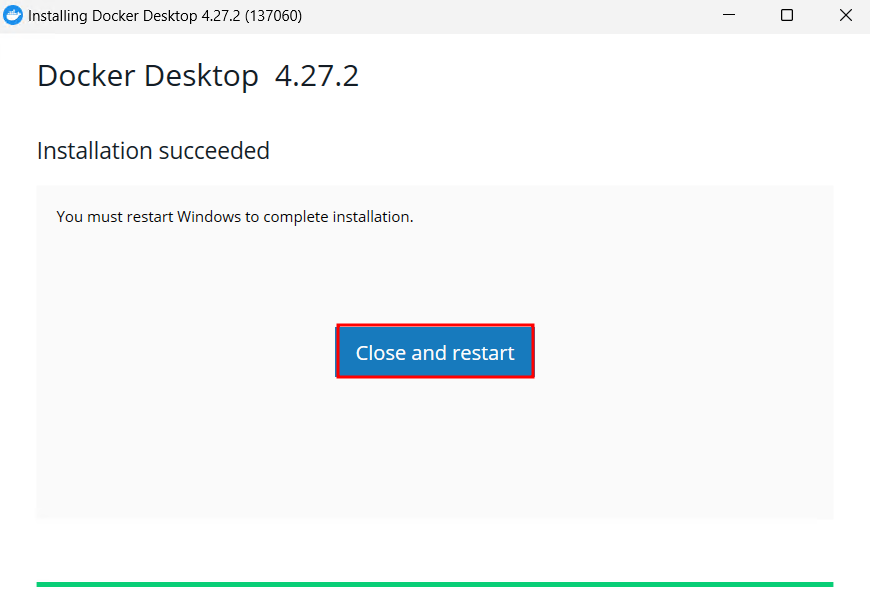
여기에서 Docker Desktop for Windows를 다운로드 및 기본으로 설치 후 Close and restart를 클릭하여 재부팅 한다.
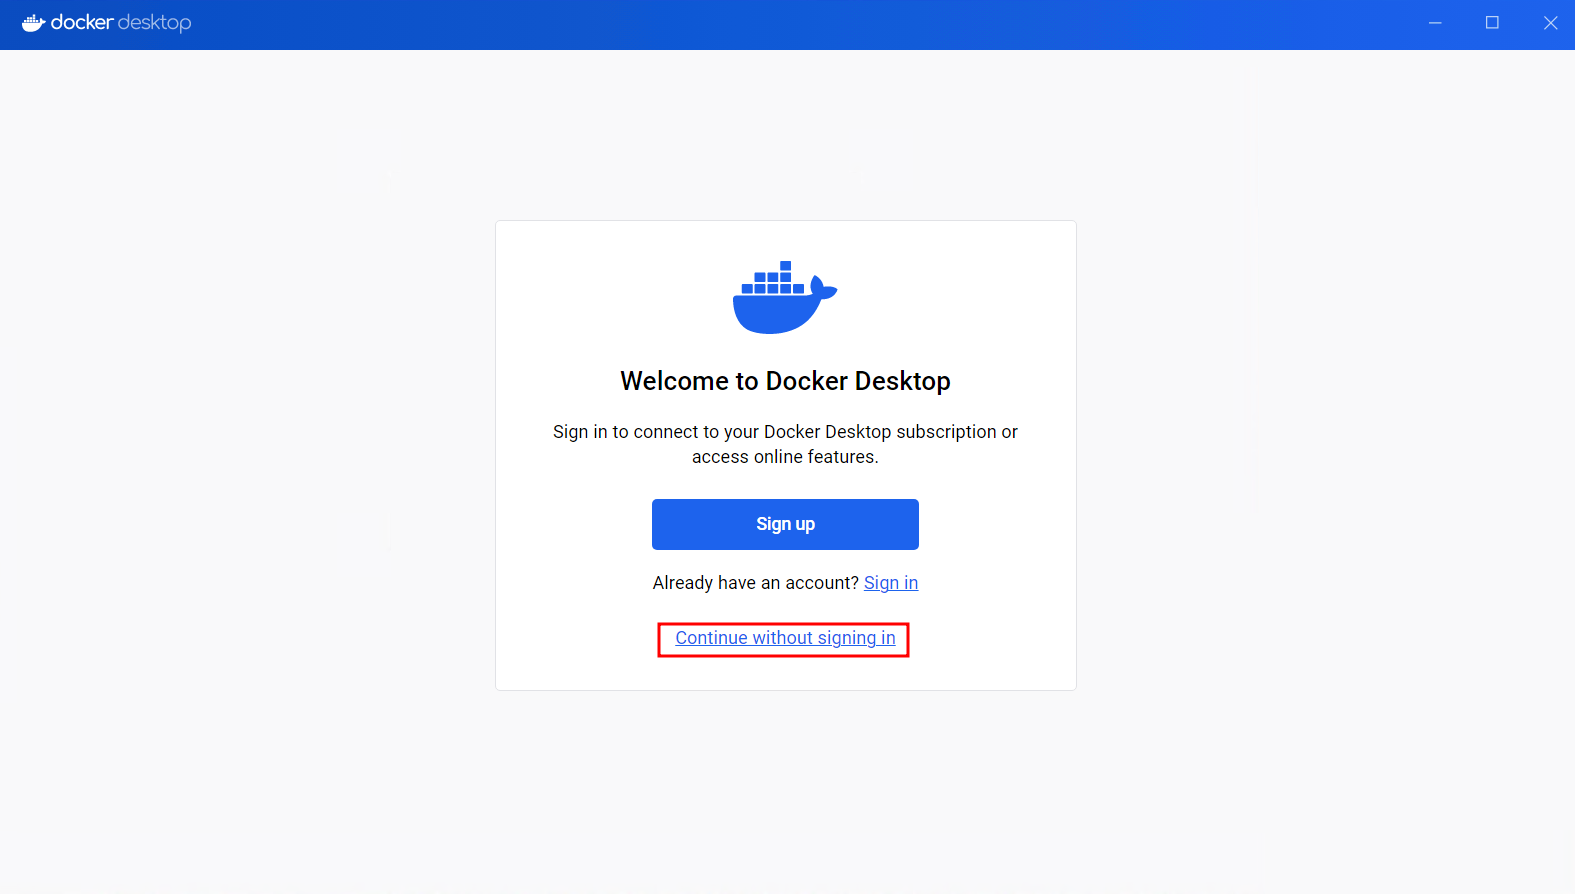
다시 VM에 접속하면 Docker Desktop 실행한다.
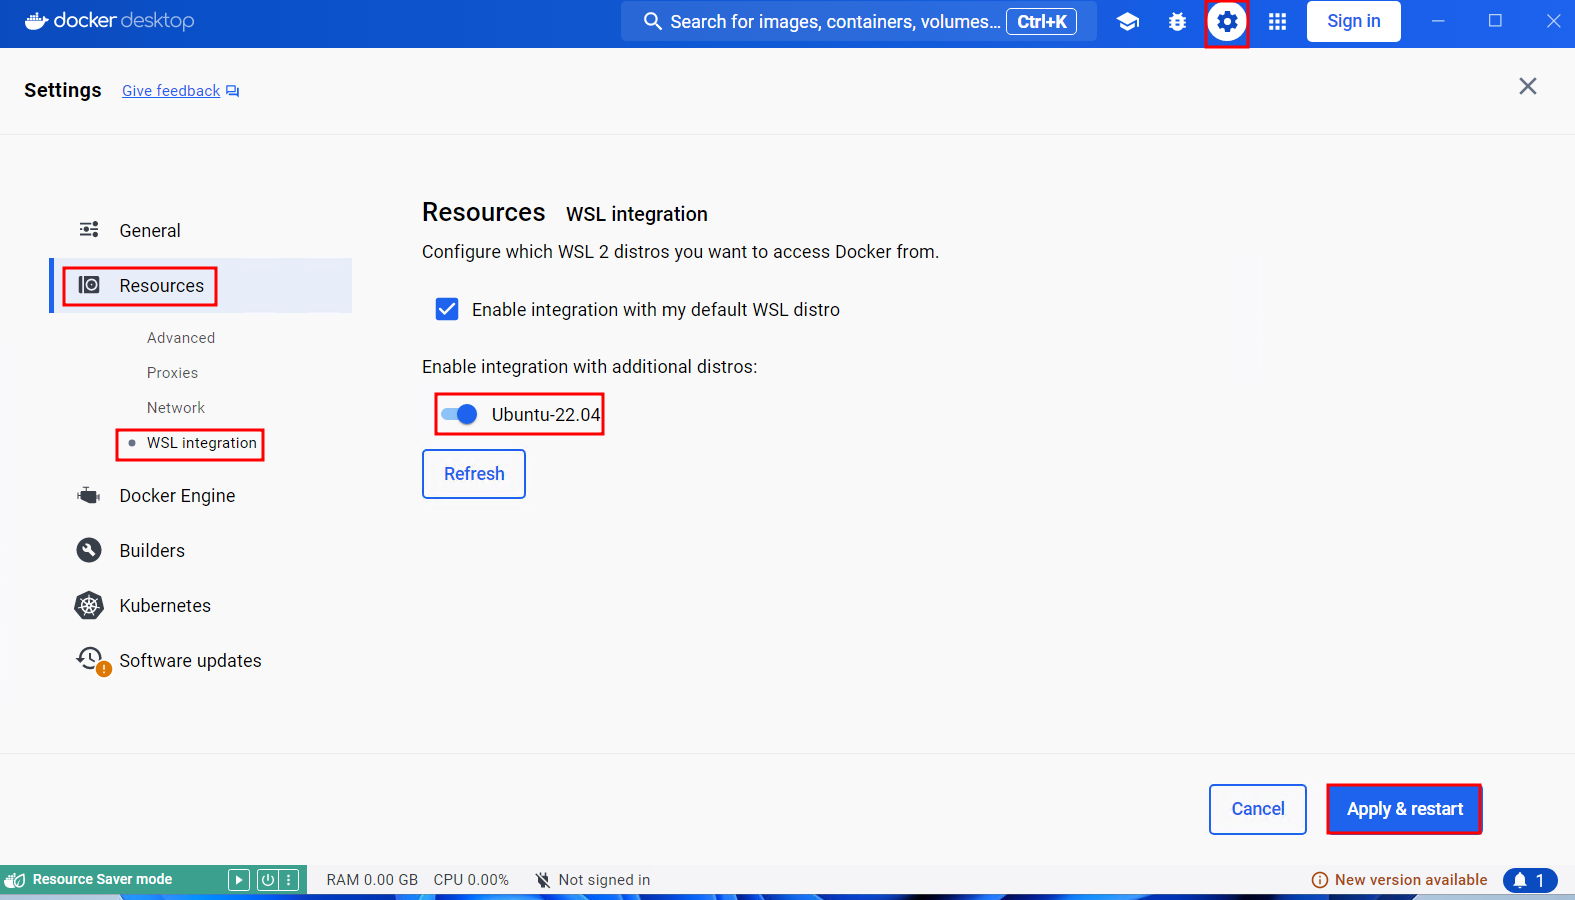
우측 상단의 설정 아이콘을 클릭하고 들어가 Resoures > WSL Integration에서 Ubuntu-22.04를 활성화 하고 Apply & Restart를 클릭한다.
Terminal을 실행하고 다음과 같이 명령을 입력한다.
# 먼저 Windows 환경에서 상태 확인
docker ps
wsl
# Linux 환경에서 상태 확인
docker ps
docker version
Windows PowerShell
Copyright (C) Microsoft Corporation. All rights reserved.

Install the latest PowerShell for new features and improvements! https://aka.ms/PSWindows

PS C:\Users\zerobig> docker ps
CONTAINER ID   IMAGE     COMMAND   CREATED   STATUS    PORTS     NAMES
PS C:\Users\zerobig>
PS C:\Users\zerobig> wsl
To run a command as administrator (user "root"), use "sudo <command>".
See "man sudo_root" for details.

zerobig@win11vm-sa:/mnt/c/Users/zerobig$
zerobig@win11vm-sa:/mnt/c/Users/zerobig$ docker ps
CONTAINER ID   IMAGE     COMMAND   CREATED   STATUS    PORTS     NAMES
zerobig@win11vm-sa:/mnt/c/Users/zerobig$
zerobig@win11vm-sa:/mnt/c/Users/zerobig$ docker version
Client:
 Cloud integration: v1.0.35+desktop.10
 Version:           25.0.3
 API version:       1.44
 Go version:        go1.21.6
 Git commit:        4debf41
 Built:             Tue Feb  6 21:13:00 2024
 OS/Arch:           linux/amd64
 Context:           default

Server: Docker Desktop
 Engine:
  Version:          25.0.3
  API version:      1.44 (minimum version 1.24)
  Go version:       go1.21.6
  Git commit:       f417435
  Built:            Tue Feb  6 21:14:25 2024
  OS/Arch:          linux/amd64
  Experimental:     false
 containerd:
  Version:          1.6.28
  GitCommit:        ae07eda36dd25f8a1b98dfbf587313b99c0190bb
 runc:
  Version:          1.1.12
  GitCommit:        v1.1.12-0-g51d5e94
 docker-init:
  Version:          0.19.0
  GitCommit:        de40ad0
zerobig@win11vm-sa:/mnt/c/Users/zerobig$
이후 도구들은 Windows 환경과 Linux (WSL) 환경에 대해 각각 설치가 진행되며, 필요에 의해 Windows 환경에서의 작업을 선호하는 경우에는 선택적으로 설치를 진행하도록 한다.
Git Bash 설치
For Windows
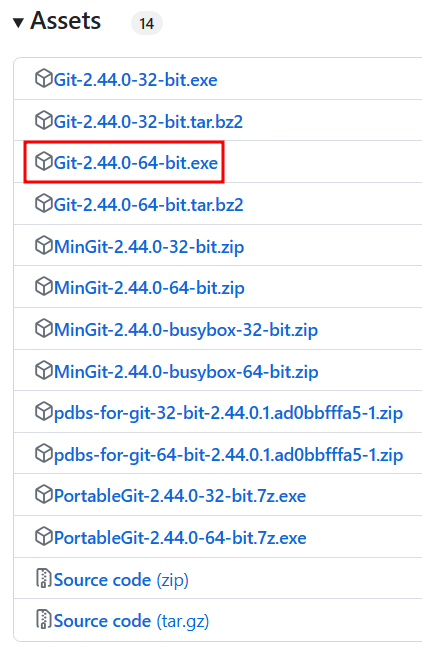
여기로 이동하여 최신 버전을 기본값으로 설치한다. 2024년 3월 4일 현재 최신 버전은 2.44.0이다.
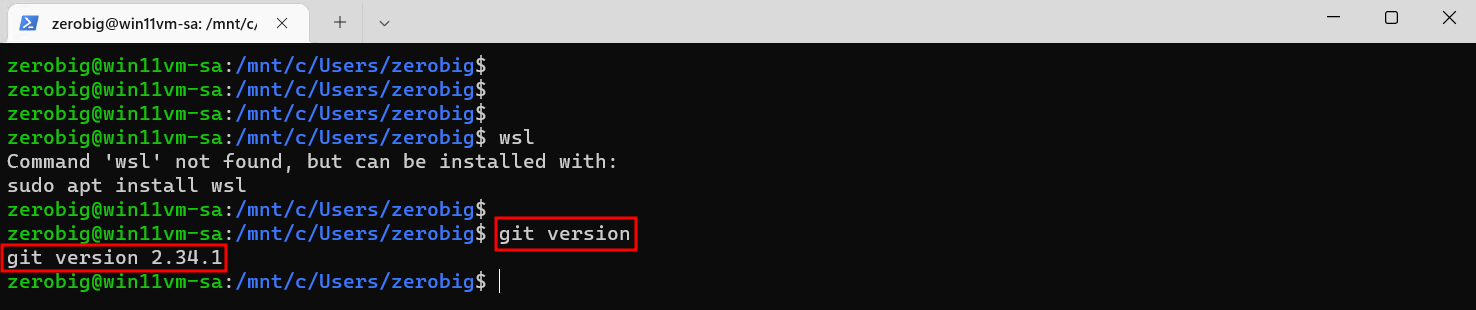
새로 Terminal 창을 띄어 설치 결과를 확인한다.
git version

For Linux(WSL) → 불필요. 이미 설치됨
Git은 대부분의 Linux용 Windows 하위 시스템 배포판에 이미 설치되어 있다.
git version
Git 구성 파일 설정
bash (Ubuntu-20.04)터미널에서 다음 명령을 수행하여 사용자 이름을 설정한다.
git config --global user.name "Your Name"
추가로 이메일 정보를 설정한다.
git config --global user.email "youremail@domain.com"
Terraform 설치
For Windows
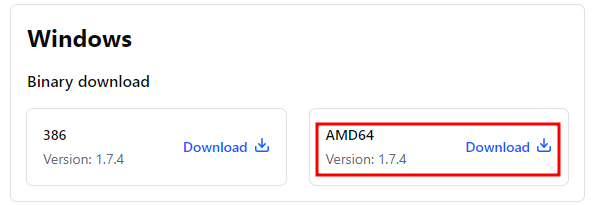
먼저 여기에서 최신 Terraform 버전을 다운로드 받는다.
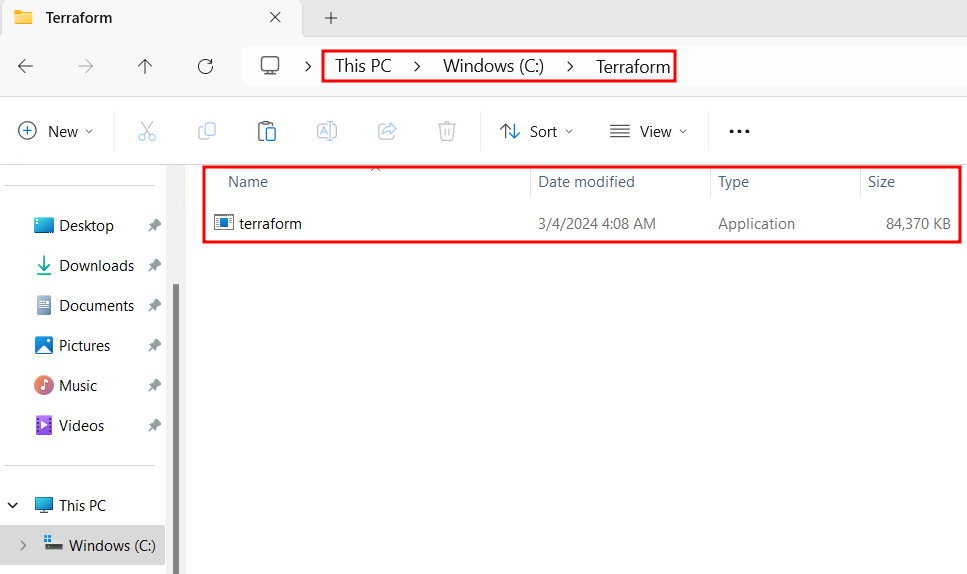
다운로드 완료 후 C:\ 드라이브 밑에 Terraform이라는 디렉토리를 생성하고 다운로드한 Terrraform 파일을 압축 해제하여 해당 디렉토리 내에 위치시킨다.
윈도우즈 키와 R키를 누르고 “sysdm.cpl ,3”를 입력하여 실행한다.
Environment Variable 선택하고 System variables에서 Path를 더블클릭한다.
New를 선택하고 다음과 같이 Terraform 디렉토리 패스 정보를 입력하고 OK를 선택한다.

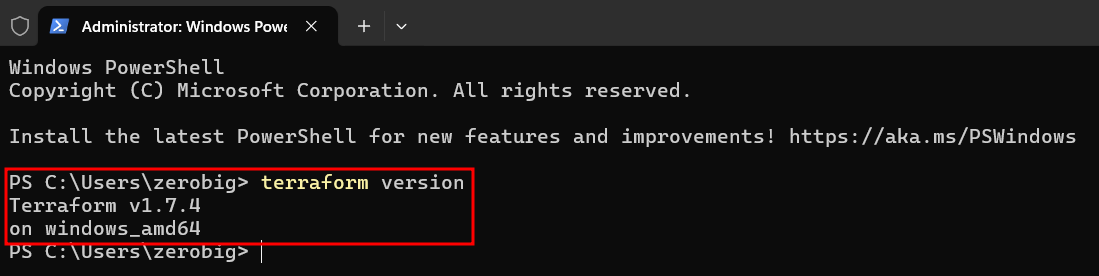
새로 Windows Terminal 창을 띄우고 다음 명령을 수행하여 Terraform 버전을 확인한다.
# Terraform 버전 확인
terraform version
For Linux(WSL)
다음 명령을 수행하여 설치를 진행하고 결과를 검증한다.
# Install HashiCorp's Debian package repository
sudo apt-get update && sudo apt-get install -y gnupg software-properties-common
# Install the HashiCorp GPG key
wget -O- https://apt.releases.hashicorp.com/gpg | \
gpg --dearmor | \
sudo tee /usr/share/keyrings/hashicorp-archive-keyring.gpg
# Verify the key's fingerprint.
gpg --no-default-keyring \
--keyring /usr/share/keyrings/hashicorp-archive-keyring.gpg \
--fingerprint
# Add the official HashiCorp repository to your system
echo "deb [signed-by=/usr/share/keyrings/hashicorp-archive-keyring.gpg] \
https://apt.releases.hashicorp.com $(lsb_release -cs) main" | \
sudo tee /etc/apt/sources.list.d/hashicorp.list
# Download the package information and Install Terraform from the new repository.
sudo apt update
sudo apt-get install terraform
# Verify the installation
terraform -v
# Enable tab completion
terraform -install-autocomplete
source ~/.bashrc
PS C:\Users\zerobig> wsl
Welcome to Ubuntu 22.04.3 LTS (GNU/Linux 5.15.133.1-microsoft-standard-WSL2 x86_64)

 * Documentation:  https://help.ubuntu.com
 * Management:     https://landscape.canonical.com
 * Support:        https://ubuntu.com/advantage

 * Strictly confined Kubernetes makes edge and IoT secure. Learn how MicroK8s
   just raised the bar for easy, resilient and secure K8s cluster deployment.

   https://ubuntu.com/engage/secure-kubernetes-at-the-edge

This message is shown once a day. To disable it please create the
/home/zerobig/.hushlogin file.
zerobig@win11vm-sa:/mnt/c/Users/zerobig$ sudo apt-get update && sudo apt-get install -y gnupg software-properties-common
[sudo] password for zerobig:
<중략>
zerobig@win11vm-sa:/mnt/c/Users/zerobig$
zerobig@win11vm-sa:/mnt/c/Users/zerobig$ terraform -v
Terraform v1.7.4
on linux_amd64
zerobig@win11vm-sa:/mnt/c/Users/zerobig$
zerobig@win11vm-sa:/mnt/c/Users/zerobig$ terraform -install-autocomplete
zerobig@win11vm-sa:/mnt/c/Users/zerobig$ source ~/.bashrc
zerobig@win11vm-sa:/mnt/c/Users/zerobig$
zerobig@win11vm-sa:/mnt/c/Users/zerobig$ terraform
terraform      terraform.exe
zerobig@win11vm-sa:/mnt/c/Users/zerobig$ terraform
apply         fmt           import        metadata      push          taint         version
console       force-unlock  init          output        refresh       test          workspace
destroy       get           login         plan          show          untaint
env           graph         logout        providers     state         validate
zerobig@win11vm-sa:/mnt/c/Users/zerobig$
AZ CLI 설치
For Windows
# 관련 공식문서 : https://learn.microsoft.com/ko-kr/cli/azure/install-azure-cli-windows?tabs=azure-cli?AZ-MVP-5004005
먼저 여기에서 최신 버전을 다운로드 받고 기본으로 설치를 진행한다.
설치 완료 후, 새로 Windows Terminal 창을 띄우고 다음 명령을 수행하여 az 버전을 확인한다.
# az 버전 확인
az version

For Linux(WSL)
# 관련 공식문서 : https://learn.microsoft.com/ko-kr/cli/azure/install-azure-cli-linux?pivots=apt?AZ-MVP-5004005
다음 명령을 수행하여 설치를 진행하고 결과를 검증한다.
# Download installation script and Execute it
curl -sL https://aka.ms/InstallAzureCLIDeb | sudo bash
# Verify the installation
az version
Azure Az PowerShell 모듈 설치
Azure PowerShell은 PowerShell에서 직접 Azure 리소스를 관리하기 위한 cmdlet 세트이다. Azure PowerShell은 쉽게 배우고 시작할 수 있도록 설계되었지만 자동화를 위한 강력한 기능을 제공한다.
여기를 참조하여 다운로드 및 설치한다.
이 모듈을 설치하면 일반적으로 사용 가능한 Az PowerShell 모듈이 다운로드되고, cmdlet을 사용할 수 있게 된다.
Az PowerShell 모듈은 모든 플랫폼에서 Azure 리소스를 관리하는 데 권장되는 PowerShell 모듈이다.
새로 Windows Terminal 창을 띄우고 다음 명령을 수행하여 설치를 진행한다. (모듈 설치에 수 분 이상 소요 된다.)
# Check the PowerShell version
$PSVersionTable.PSVersion
# Set the PowerShell script execution policy to remote signed or less restrictive
Set-ExecutionPolicy -ExecutionPolicy RemoteSigned -Scope CurrentUser
# Install the Az module for the current user only
Install-Module -Name Az -Scope CurrentUser -Repository PSGallery -Force
Windows PowerShell
Copyright (C) Microsoft Corporation. All rights reserved.
                                                                                                                        Install the latest PowerShell for new features and improvements! https://aka.ms/PSWindows                                                                                                                                                       PS C:\Users\zerobig> $PSVersionTable.PSVersion                                                                                                                                                                                                  Major  Minor  Build  Revision                                                                                           -----  -----  -----  --------                                                                                           5      1      22621  2506

PS C:\Users\zerobig> Set-ExecutionPolicy -ExecutionPolicy RemoteSigned -Scope CurrentUser
PS C:\Users\zerobig> Install-Module -Name Az -Scope CurrentUser -Repository PSGallery -Force

NuGet provider is required to continue
PowerShellGet requires NuGet provider version '2.8.5.201' or newer to interact with NuGet-based repositories. The NuGet
 provider must be available in 'C:\Program Files\PackageManagement\ProviderAssemblies' or
'C:\Users\zerobig\AppData\Local\PackageManagement\ProviderAssemblies'. You can also install the NuGet provider by
running 'Install-PackageProvider -Name NuGet -MinimumVersion 2.8.5.201 -Force'. Do you want PowerShellGet to install
and import the NuGet provider now?
[Y] Yes  [N] No  [S] Suspend  [?] Help (default is "Y"): Y
PS C:\Users\zerobig>
kuberctl 설치
For Windows
먼저 여기에서 최신 버전을 다운로드 받고 기본으로 설치를 진행한다.
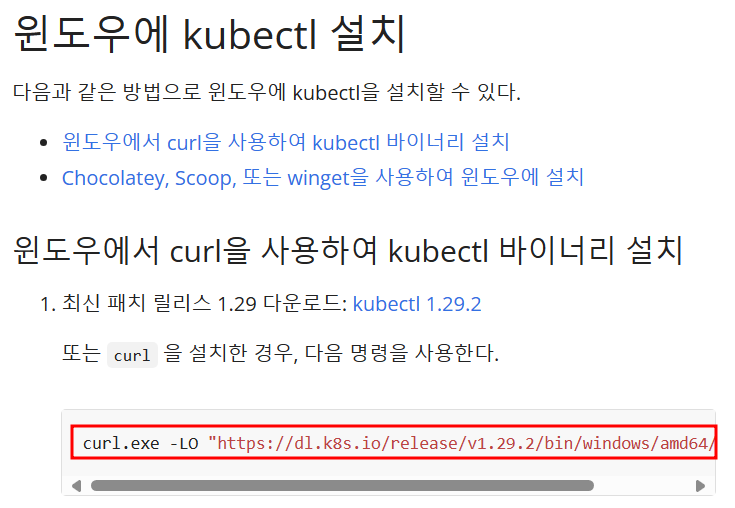
새로 Windows Terminal 창을 띄우고 다음 명령을 수행하여 설치를 진행한다.
# Download the latest kubectl version
curl.exe -LO "https://dl.k8s.io/release/v1.29.2/bin/windows/amd64/kubectl.exe"
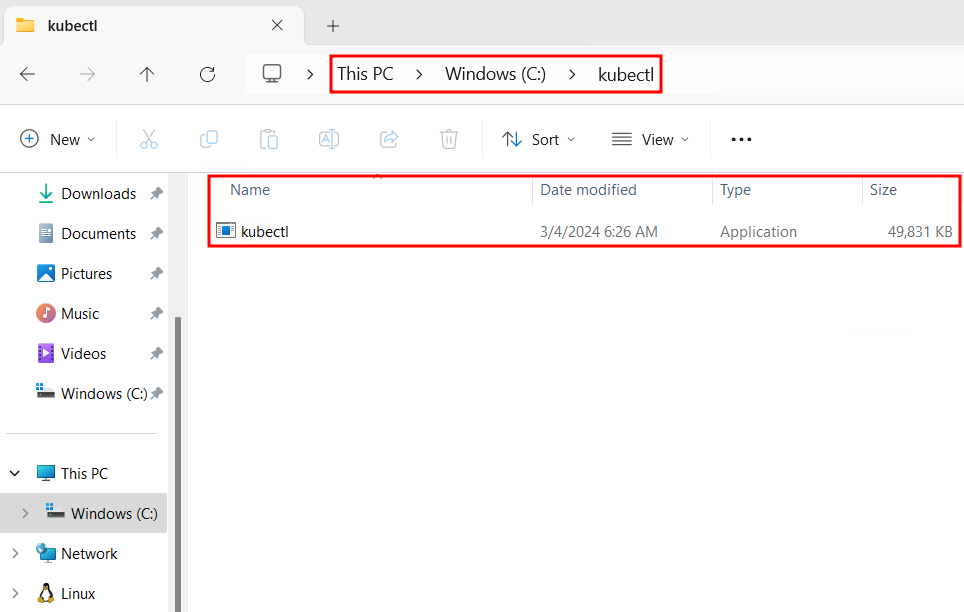
# Open the directory downloading the kubectl file.
explorer.exe .
Windows PowerShell
Copyright (C) Microsoft Corporation. All rights reserved.

Install the latest PowerShell for new features and improvements! https://aka.ms/PSWindows

PS C:\Users\zerobig> curl.exe -LO "https://dl.k8s.io/release/v1.29.2/bin/windows/amd64/kubectl.exe"
  % Total    % Received % Xferd  Average Speed   Time    Time     Time  Current
                                 Dload  Upload   Total   Spent    Left  Speed
100   138  100   138    0     0    236      0 --:--:-- --:--:-- --:--:--   237
100 48.6M  100 48.6M    0     0  38.7M      0  0:00:01  0:00:01 --:--:-- 38.7M
PS C:\Users\zerobig> pwd

Path
----
C:\Users\zerobig


PS C:\Users\zerobig> explorer.exe .
PS C:\Users\zerobig>
kubectl 디렉토리를 생성 후 다운로드 받은 실행 파일을 복사/붙여넣어 위치 시키고 terraform과 같은 방식으로 환경변수 path에 등록한다.
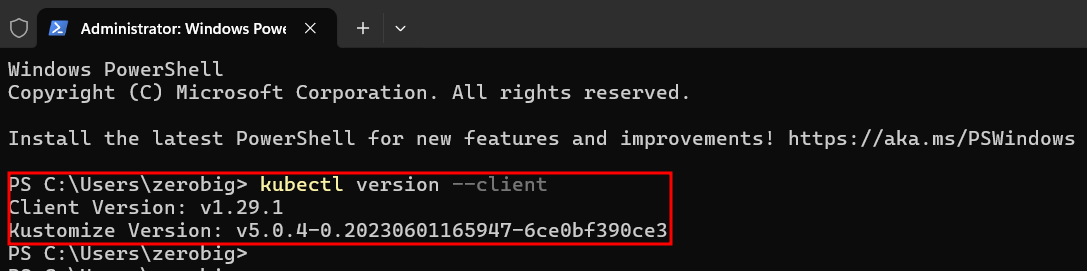
다음 명령을 수행하여 설치 결과를 검증한다.
# Verify the installation
kubectl version --client
For Linux(WSL)
다음 명령을 수행하여 설치를 진행하고 결과를 검증한다.
# Download the latest release
curl -LO "https://dl.k8s.io/release/$(curl -L -s https://dl.k8s.io/release/stable.txt)/bin/linux/amd64/kubectl"
# Validate the binary
curl -LO "https://dl.k8s.io/$(curl -L -s https://dl.k8s.io/release/stable.txt)/bin/linux/amd64/kubectl.sha256"
echo "$(cat kubectl.sha256) kubectl" | sha256sum --check
# Install kubectl
sudo install -o root -g root -m 0755 kubectl /usr/local/bin/kubectl
# Verify the installation
kubectl version --client
# Enable kubectl autocompletion
kubectl completion bash | sudo tee /etc/bash_completion.d/kubectl > /dev/null
source ~/.bashrc
zerobig@win11vm-sa:/mnt/c/Users/zerobig$ curl -LO "https://dl.k8s.io/release/$(curl -L -s https://dl.k8s.io/release/stable.txt)/bin/linux/amd64/kubectl"
  % Total    % Received % Xferd  Average Speed   Time    Time     Time  Current
                                 Dload  Upload   Total   Spent    Left  Speed
100   138  100   138    0     0    600      0 --:--:-- --:--:-- --:--:--   600
100 47.4M  100 47.4M    0     0  20.2M      0  0:00:02  0:00:02 --:--:-- 27.4M
zerobig@win11vm-sa:/mnt/c/Users/zerobig$ curl -LO "https://dl.k8s.io/$(curl -L -s https://dl.k8s.io/release/stable.txt)/bin/linux/amd64/kubectl.sha256"
echo "$(cat kubectl.sha256)  kubectl" | sha256sum --check
  % Total    % Received % Xferd  Average Speed   Time    Time     Time  Current
                                 Dload  Upload   Total   Spent    Left  Speed
100   138  100   138    0     0    571      0 --:--:-- --:--:-- --:--:--   572
100    64  100    64    0     0    167      0 --:--:-- --:--:-- --:--:--   167
kubectl: OK
zerobig@win11vm-sa:/mnt/c/Users/zerobig$ sudo install -o root -g root -m 0755 kubectl /usr/local/bin/kubectl
[sudo] password for zerobig:
zerobig@win11vm-sa:/mnt/c/Users/zerobig$ kubectl version --client
Client Version: v1.29.2
Kustomize Version: v5.0.4-0.20230601165947-6ce0bf390ce3
zerobig@win11vm-sa:/mnt/c/Users/zerobig$ kubectl completion bash | sudo tee /etc/bash_completion.d/kubectl > /dev/null
source ~/.bashrc
zerobig@win11vm-sa:/mnt/c/Users/zerobig$
zerobig@win11vm-sa:/mnt/c/Users/zerobig$
zerobig@win11vm-sa:/mnt/c/Users/zerobig$ kubectl
annotate       (Update the annotations on a resource)
api-resources  (Print the supported API resources on the server)
api-versions   (Print the supported API versions on the server, in the form of "group/version")
apply          (Apply a configuration to a resource by file name or stdin)
attach         (Attach to a running container)
auth           (Inspect authorization)
autoscale      (Auto-scale a deployment, replica set, stateful set, or replication controller)
certificate    (Modify certificate resources)
cluster-info   (Display cluster information)
completion     (Output shell completion code for the specified shell (bash, zsh, fish, or powershell))
config         (Modify kubeconfig files)
cordon         (Mark node as unschedulable)
cp             (Copy files and directories to and from containers)
create         (Create a resource from a file or from stdin)
debug          (Create debugging sessions for troubleshooting workloads and nodes)
delete         (Delete resources by file names, stdin, resources and names, or by resources and label selector)
describe       (Show details of a specific resource or group of resources)
diff           (Diff the live version against a would-be applied version)
drain          (Drain node in preparation for maintenance)
edit           (Edit a resource on the server)
events         (List events)
exec           (Execute a command in a container)
explain        (Get documentation for a resource)
expose         (Take a replication controller, service, deployment or pod and expose it as a new Kubernetes service)
get            (Display one or many resources)
help           (Help about any command)
kustomize      (Build a kustomization target from a directory or URL)
label          (Update the labels on a resource)
logs           (Print the logs for a container in a pod)
--More--
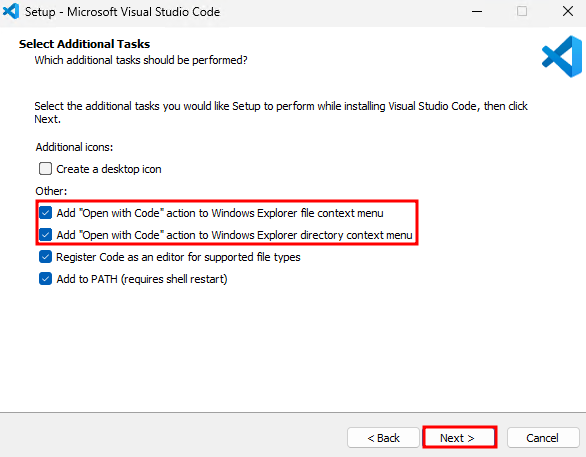
VS Code 설치
다운로드 후 설치한다.
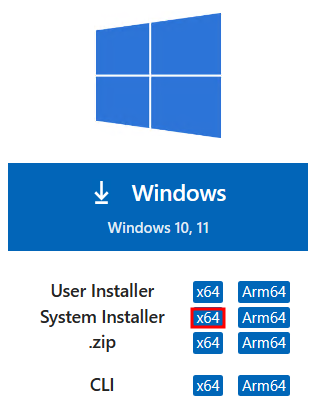
설치 과정에서 추가 작업 선택 화면에서 다음 두 개를 체크하고 진행한다.
이제 Azure SA 업무를 수행하는데 필요한 기본적인 도구 설치 및 구성이 마무리 되었다.
결과가 확인 되었으면 필히 VM을 중지하여 원치 않는 비용이 발생하지 않도록 한다.
설치된 이 도구들이 어떻게 활용되는지에 대해서는 다음 게시글에서 계속 다뤄보기로 한다.
'Azure 기타' 카테고리의 다른 글
| 앱의 현대화 - Azure Container 서비스 배포 Part 1 (0) | 2024.03.18 |
|---|---|
| Azure Powershell, Azure CLI 사용 (0) | 2024.03.11 |
| Azure SA 업무 환경 구성 - Part 1 (2) | 2024.03.05 |
| [특집 시리즈] Zero to Hero with App Service, 7부: 멀티 티어 웹 애플리케이션 (0) | 2021.08.02 |
| [특집 시리즈] Zero to Hero with App Service, 6부: Web App 보호 (0) | 2021.07.26 |